PhotoFile Walkthrough
|
|
PhotoFile Walkthrough |
Intended Audience
This document shows step by step how to get PhotoFile up and running and includes some generic BASIC samples so you can test out various PhotoFile features. We assume you know how to translate the BASIC code into the appropriate format for the host you're coding with. If you haven't read the PhotoFile Developer's Guide, we suggest you read it before continuing with this document.
About Security
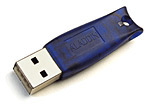
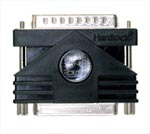
To build PhotoFile, we used an imaging library from a third party. Due to our licensing agreement with them, we are obliged to prevent their library from being distributed illegally. As a result, in order to use PhotoFile you must use a Security Key. Two types are available: Parallel and USB. Parallel keys can be used on all 32-bit Windows operating systems. USB keys can be used only with Windows 98/Me and Windows 2000.
Step 1 - Setting up the first library
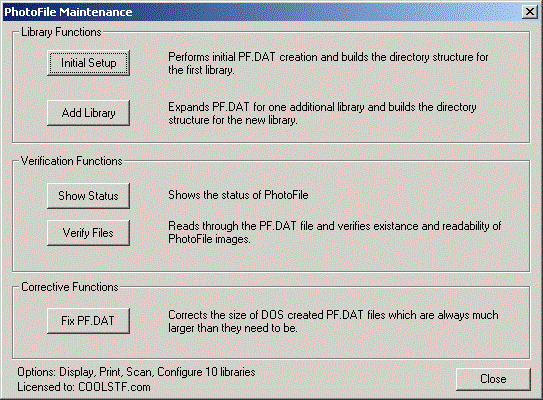
In this step, we'll create the PF.DAT index file and setup the directory structure where the first PhotoFile library is stored. In order to do this, you need two pieces of information:
PF.DAT is the key to PhotoFile's storage so it needs to be accessible to all users that might access PhotoFile. We therefore suggest that you keep it on a server share and back it up daily. Budget on PF.DAT occupying about 1MB for each library.
The library is where the images will be stored, again this must be accessible to all network users. On average with the G4-FAX compression we use for storing scanned images, a single page takes about 80KB. To give you a rough idea, a full library (62500 documents) with an average of 3 pages per document means about 14GB of storage.
Once you've determined where your files will go, follow these directions:
If the Initial Setup and Add Library buttons are grayed-out then you're using a security-key that doesn't have the configure option enabled. You shouldn't be using that key.
After a short delay you'll see a message that the inital setup was completed.
You can now close the PhotoFile Maintenance program.
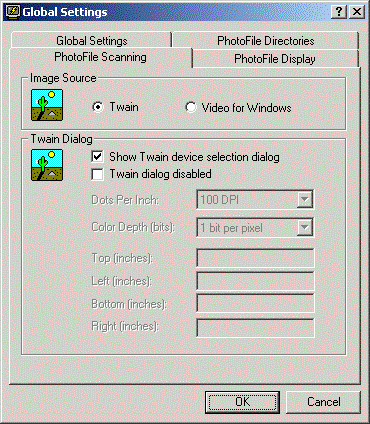
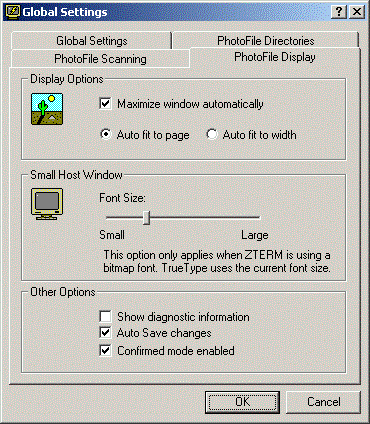
Step 2 - Verifying PhotoFile settings
The next step is to make sure that PhotoFile has the correct settings for scanning and display. Follow these steps:
You'll want the Twain device selection enabled for the first scan so that PhotoFile can remember the default Twain device whenever it scans. Leave the Twain dialog disabled option unchecked - this might cause some badly written Twain drivers to crash.
Now that everything's setup correctly, we're ready to start writing some code.
Step 3 - A quick scan/display application
This sample app will scan one page into record 1, pause for user input and then display the image just scanned:
!Scan first
PRINT "About to scan..."
PRINT CHR$(27);CHR$(28);"C"; !scan function
PRINT CHR$(0);CHR$(0);CHR$(0); !use PC's date
PRINT "1"; !PF.DAT record number
PRINT "@"; !seperator
PRINT "001"; !page number
PRINT "/d" !no post scan automatic display
PRINT CHR$(127); !end of sequence!Wait for user
INPUT "Hit Enter to display: ";OK$!Now display
PRINT CHR$(27);CHR$(28);"A"; !display function
PRINT CHR$(0);CHR$(0);CHR$(0); !use PC's date
PRINT "1"; !PF.DAT record number
PRINT "@"; !seperator
PRINT "001"; !page number
PRINT CHR$(127); !end of sequence
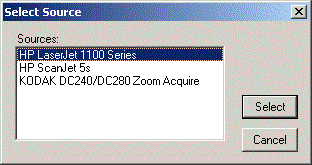
When you run this program and the scan starts, you'll see the Twain device selection dialog. It's contents will vary depending on the Twain peripherals you have connected to your PC. This screen will look something like:
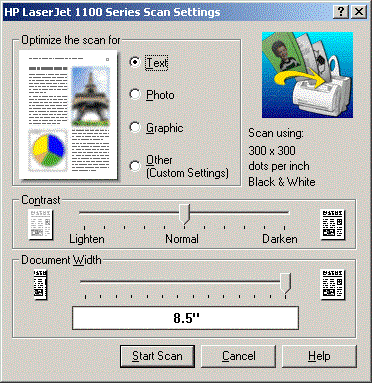
Next you'll see the regular Twain dialog that's displayed by all scanning applications. The HP LaserJet 1100 scan dialog we get when we use PhotoFile to scan is shown below:
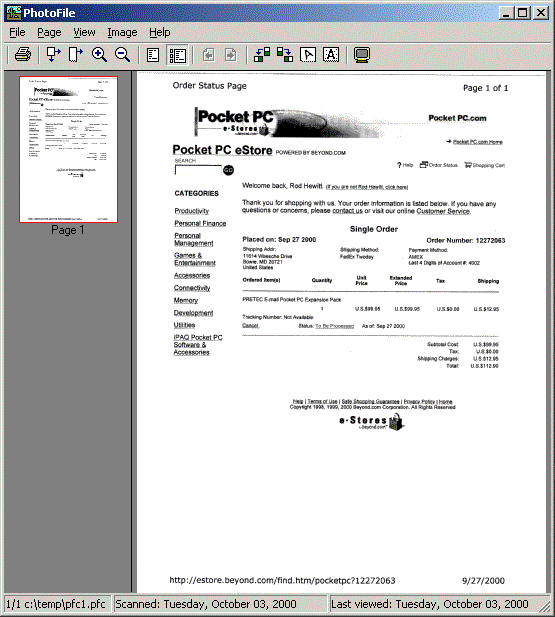
Once the scan has completed, ZTERM will reappear and once you hit return, you'll see the scanned image.
Congratulations - you've made PhotoFile perform it's core function!